How Noise Cancellation Works in Microphones
Three Layers of Noise Cancellation
Microphone noise cancellation is not a single technology — it is three distinct approaches working at different points in the recording chain. Understanding which layer does what prevents the most common mistake in user reviews: buying a condenser and expecting software to fix room noise that a dynamic mic would have rejected physically.
Each layer has distinct strengths and tradeoffs. Used together, they produce clean recordings in environments that would be entirely unworkable with any single approach alone. Most noise complaints in user reviews trace back to skipping the first layer — choosing a sensitive condenser microphone in a noisy room and then expecting software to compensate for the result.
That approach almost never produces clean audio. Here is exactly why each layer matters, what it can actually do, and how to stack them for maximum noise reduction in a real recording environment.
The mic physically ignores sound from unwanted directions. Dynamic capsules with cardioid patterns reject 15-20 dB of off-axis noise before it enters the signal chain. This is the strongest noise reduction tool available, and it requires zero processing power or software configuration.
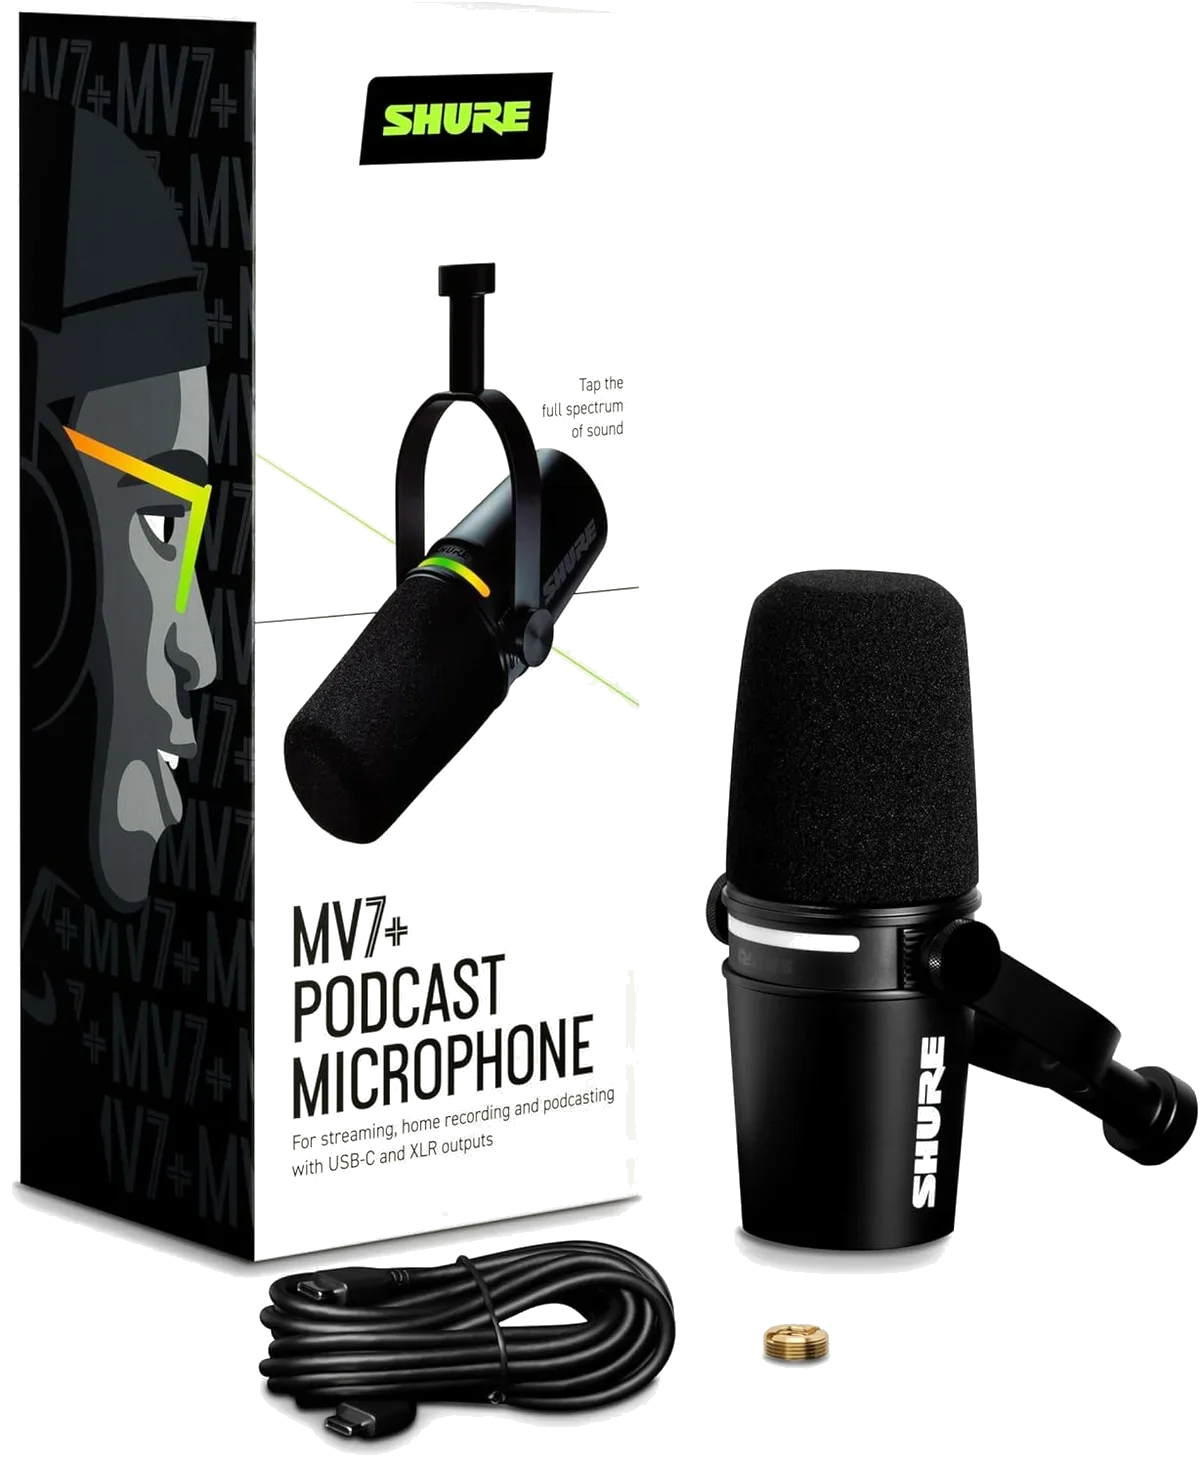
Onboard processors analyze the audio signal in real time and apply noise reduction, auto-leveling, or low-cut filtering before the audio reaches your computer. The Shure MV7+ podcast microphone and Elgato Wave:3 condenser both include hardware DSP that operates independently of your recording software.
Algorithms in OBS, Discord, Zoom, or dedicated audio editors (Adobe Podcast, iZotope RX) analyze the recorded signal and remove noise patterns. Effective for steady-state noise like fan hum. Less effective for transient noise like keystrokes or door slams. Always processes noise that is already in the recording.
Layer 1: How Mic Type Determines Noise Floor
The single biggest noise reduction decision happens before you record a single word: dynamic or condenser.
Dynamic microphones use a heavier diaphragm attached to a coil inside a magnetic field. This mass makes them less sensitive to quiet sounds — which includes most background noise. A keyboard 12 inches from a dynamic mic is barely audible. The same keyboard next to a condenser mic sounds like it is in your recording.
Condenser microphones use a lighter, electrically charged diaphragm that responds to much quieter pressure changes. They capture more vocal detail — breathiness, subtle dynamics, the texture of a whisper — but they also capture more of everything else in the room. Computer fans, HVAC, traffic, room reflections, the refrigerator cycling in the next room.
Polar pattern adds a second dimension. A cardioid mic picks up sound primarily from the front and rejects sound from the sides and rear — typically 15-20 dB of rear rejection. An omnidirectional mic picks up equally from all directions, which means it captures the full ambient noise level of the room.
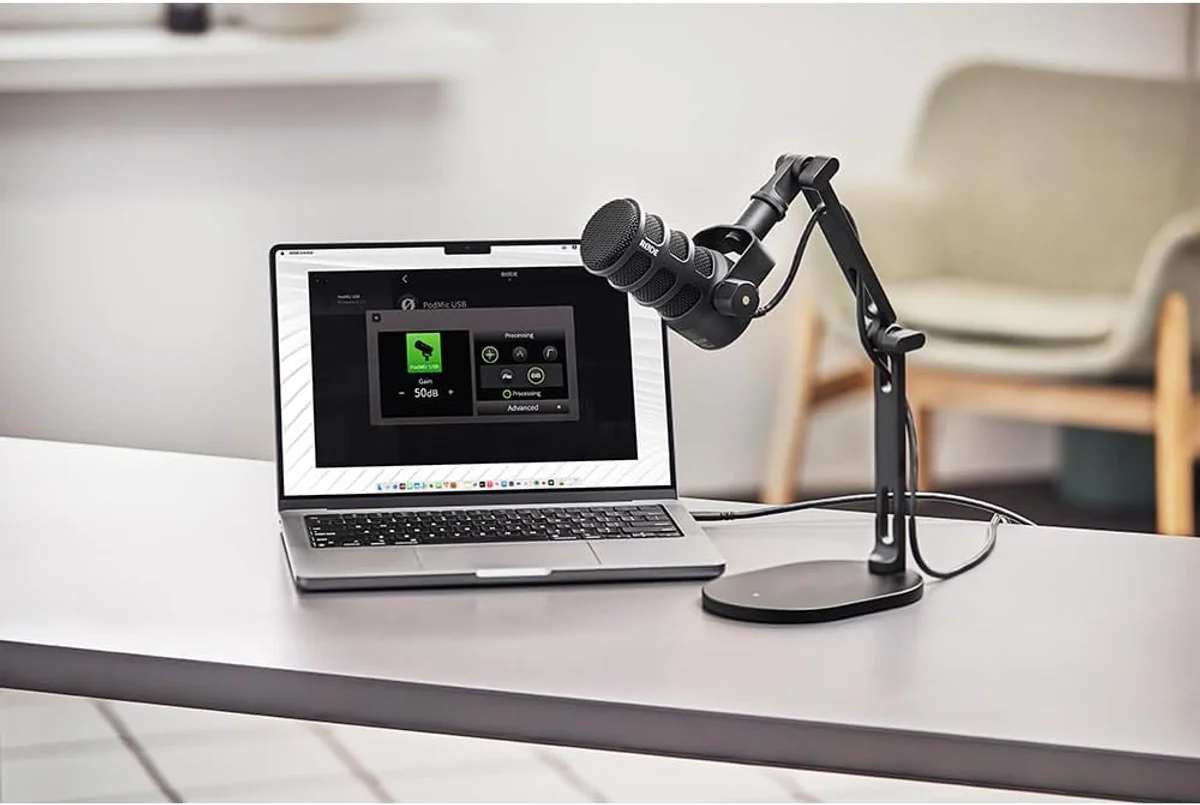
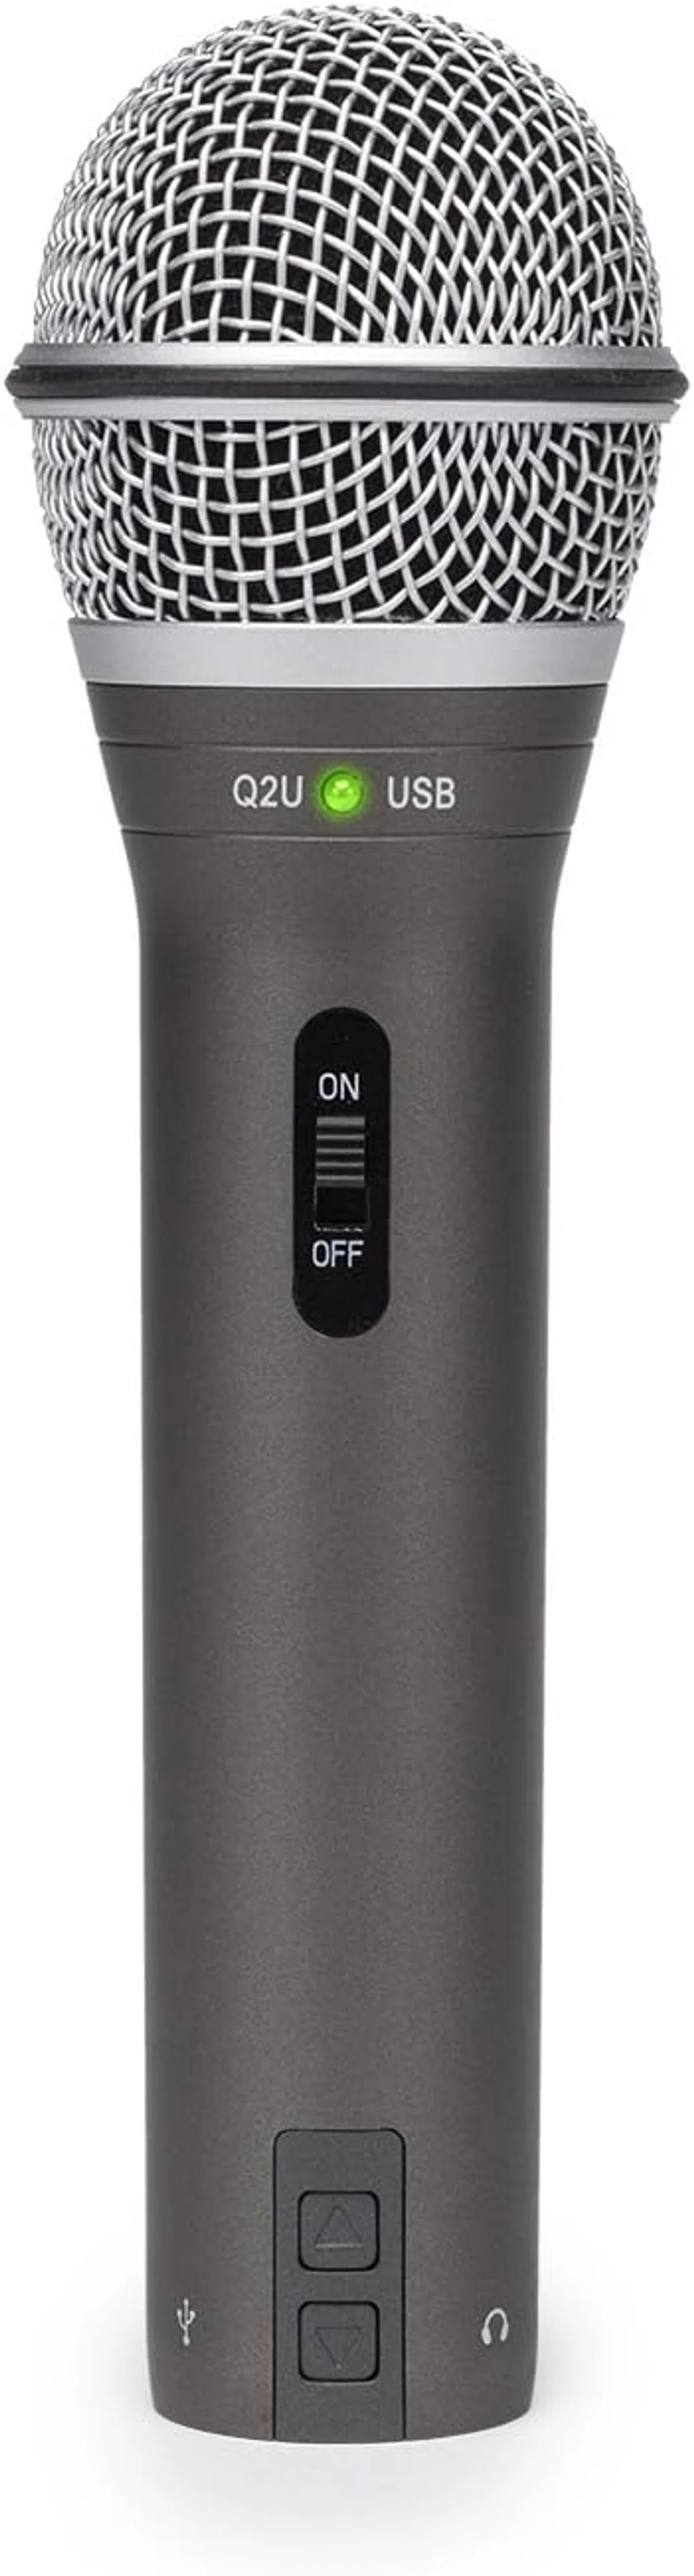
The combination of dynamic capsule + cardioid pattern is why the Rode PodMic USB broadcast microphone, Samson Q2U dual-connectivity mic, and Shure MV7+ podcast microphone consistently receive fewer noise complaints in user reviews than condenser mics at the same or higher price points. The noise rejection is baked into the physics of the capsule.
Layer 2: Hardware DSP That Actually Works
Several microphones in our catalog include onboard digital signal processing that reduces noise before the audio reaches your computer. The quality varies wildly between implementations.
Real-time gain adjustment keeps your voice at consistent volume, and the built-in denoiser targets steady-state noise (fans, HVAC) without processing transients. The combination is transparent at moderate settings — most listeners cannot tell it is active. At maximum settings, quiet room tone disappears entirely but breathy consonants can sound slightly compressed.
Not noise cancellation in the traditional sense — Clipguard prevents clipping by running a parallel low-gain signal that activates when volume peaks. This is peak management, not noise reduction. But it solves one of the loudest "noise" complaints: distorted audio from sudden shouts, laughs, or table impacts during streams.
Neither mic includes onboard noise processing. The HyperX QuadCast S relies on its shock mount and tap-to-mute for noise management — mechanical solutions, not DSP. The Blue Yeti USB offers VO!CE software effects but no dedicated noise reduction engine. Both depend entirely on external software tools for noise cleanup.
Layer 3: Software Noise Reduction
Software noise cancellation runs on your computer after the mic captures the audio. It is the last line of defense and the most widely available — every major streaming, recording, and communication platform includes some form of it.
GPU-accelerated noise removal that works across any application. Removes keyboard clicks, fan noise, and room echo in real time. Requires an NVIDIA GPU. The quality is impressive — it handles transient noise better than most DAW plugins. The tradeoff: it adds processing latency (5-10ms) and uses GPU resources that gamers might need.
Built into OBS Studio, RNNoise uses a neural network trained on noise patterns. Effective for steady-state noise like fan hum. Less effective for sharp transients. CPU-efficient. The "new" filter in OBS is markedly better than the "old" Speex-based filter — always use the RNNoise option if available.
Both platforms apply automatic noise suppression by default. Discord's Krisp integration is particularly aggressive — it suppresses almost all non-voice audio. Great for gaming chat. Problematic for music, ASMR, or any content where non-voice sounds are intentional. Disable it when recording content that includes ambient audio.
Wireless Mics and Noise Cancellation
Wireless microphones face a unique noise challenge: the radio transmission itself introduces a noise floor that wired mics do not have. Modern systems like the DJI Mic 3 professional wireless system address this with 32-bit float recording — capturing audio with enough dynamic range that the transmission noise sits far below the usable signal.
The Hollyland Lark M2 wireless system includes built-in noise cancellation processing in the transmitter unit. This cleans the audio before wireless transmission, which means the noise reduction happens at the source rather than after the signal has traveled through the radio link. For outdoor recording where wind and ambient noise are constant, this approach produces cleaner results than post-transmission processing.
Wind noise deserves special mention for wireless users. Wind hitting a lavalier mic generates low-frequency rumble that overwhelms the audio signal. The included windscreens (foam covers) on the DJI and Hollyland systems reduce wind noise by 15-20 dB — the difference between usable outdoor audio and a recording that sounds like standing in a hurricane. Never record outdoors without the foam windscreen attached. It is the single most important accessory for on-location recording with any wireless lavalier system.
Wired desktop mics face different noise challenges entirely — room reflections and desk vibration replace wind and radio interference as the primary concerns. The noise reduction priority stack above covers wired mic noise management in the order that matters most.

The Noise Reduction Priority Stack
Here is our blunt recommendation, based on analyzing thousands of user reviews and the noise complaints within them. Do these in order. Stop when your audio is clean enough.
Solves 60-70% of noise problems immediately. The Samson Q2U dynamic at a budget price or the Rode PodMic USB for broadcast quality. If you already own a dynamic mic and still have noise issues, move to step 2.
Close positioning increases the voice-to-noise ratio more than any other single technique. Moving from 12 inches to 4 inches can improve the signal-to-noise ratio by 10-15 dB. Use a pop filter to manage plosives at close range.
A boom arm costs $20-30 and positions the mic between your mouth and the wall behind your monitor — pointing the cardioid rejection zone toward your keyboard, computer, and the loudest noise sources.
A thick blanket behind your monitor, a rug on the floor, curtains on windows. These absorb high-frequency reflections that make recordings sound echoey and hollow. Not expensive, just physical surfaces that absorb rather than reflect sound.
Only after steps 1-4. NVIDIA Broadcast, OBS RNNoise, or your DAW's noise reduction plugin. Use the lightest setting that produces acceptable results. If you need heavy software processing to get clean audio, go back to step 1 — you are using the wrong mic or the wrong position.
The Noise That Software Cannot Fix
Some noise sources defeat every layer of cancellation. Knowing which ones saves you from wasting time on solutions that will never work.
Room echo and reverb. Once your voice bounces off walls and returns to the mic, it is indistinguishable from the direct voice signal. No algorithm can separate the original sound from its reflections — they are the same sound, delayed by milliseconds. The only fix is acoustic treatment: soft surfaces that absorb the reflections before they reach the microphone. A dynamic mic reduces the problem (lower sensitivity picks up fewer reflections), but it does not eliminate it in a bare, hard-walled room.
Audio in the same frequency range as your voice. A television playing in the next room, a conversation behind a thin wall, music from a speaker — these overlap with human speech frequencies. Software noise reduction cannot remove them without removing parts of your voice that occupy the same frequencies. The result is hollow, artifacted audio that sounds worse than the original noise.
Mechanical vibration through the desk. Typing on the same desk that holds your mic transmits vibration through the desk surface, up the mic stand, and directly into the capsule. This bypasses the polar pattern entirely — it is not airborne sound, it is physical vibration. A shock mount reduces it. A boom arm eliminates it by decoupling the mic from the desk entirely.
Honestly, this is where the gear advice gets blunt: if your recording environment has persistent noise that shares frequencies with your voice, no microphone at any price will give you clean audio. Treat the room or change rooms. A closet full of clothes is a better recording space than an empty bedroom with a $500 microphone.
Software noise cancellation is a tool, not a solution. The best noise cancellation is a dynamic mic on a boom arm, 4 inches from your mouth, in a room with a rug on the floor. That setup costs under $100 total and produces cleaner audio than a condenser mic running aggressive noise suppression software at three times the price.
Frequently Asked Questions
Does noise cancellation reduce voice quality?
It depends on the implementation. Hardware noise rejection through polar pattern and capsule design — like the cardioid pattern on the Rode PodMic USB — removes noise without affecting voice at all. Software-based noise cancellation (DSP) can introduce artifacts at aggressive settings: hollow-sounding voice, robotic warble, or suppressed consonants. Light DSP settings are usually transparent. Heavy settings trade voice naturalness for noise reduction.
Which microphone type cancels the most background noise?
Dynamic microphones with cardioid polar patterns reject the most ambient noise by design. Their lower sensitivity combined with directional pickup means they only respond to close, direct sound sources. Among the mics we review, the Rode PodMic USB and Shure MV7+ offer the best noise rejection for home recording. Condenser mics pick up more room sound regardless of polar pattern.
Can a microphone remove keyboard noise?
Partially. A dynamic cardioid mic positioned between your mouth and keyboard (not above the keyboard) physically rejects most keystroke sound. Software noise gates can suppress keystrokes between sentences. But no microphone completely eliminates a mechanical keyboard 6 inches from the capsule. For the best results, use a dynamic mic on a boom arm positioned above and in front of your mouth, angled away from the keyboard.
Is hardware or software noise cancellation better?
Hardware noise rejection (mic type and polar pattern) is always superior because it prevents noise from entering the recording. Software cancellation processes noise after capture, which means the noise data is in the recording — the algorithm is trying to remove it without damaging the voice. Use hardware rejection as your first line of defense and software as a cleanup tool.
What is a noise gate and should content creators use one?
A noise gate silences your microphone when the input level drops below a set threshold. Between sentences, the gate closes and room noise disappears. The problem: gates cannot distinguish between quiet speech and noise. Set the threshold too high and it cuts off quiet words. Set it too low and noise bleeds through. Noise gates work best for gaming and streaming where occasional voice cutoff is acceptable. For podcasting and voiceover, a gate can sound unnatural.
Why does my condenser mic pick up everything in the room?
Condenser microphones have higher sensitivity than dynamic mics — they respond to quieter sounds. Combined with a wide frequency response, condensers faithfully capture keyboard clicks, air conditioning hum, room echo, computer fans, and street noise that dynamic mics would ignore. This is not a defect — condensers are designed for treated studio environments where those sounds do not exist. In untreated rooms, a dynamic mic is the better tool.
Our Top Recommendation
Based on our research, the Shure MV7+ is our top pick — serious podcasters and streamers who want a single mic that works with both usb-c and xlr, especially in untreated rooms..
Get Mic Picks Delivered
One email per week. Honest reviews, zero spam.
Only when something changes. Unsubscribe anytime.