What Is XLR? Everything You Need to Know
What XLR Actually Means
XLR is an electrical connector standard with three pins, built for professional audio. The name traces back to Cannon Electric's "X" series — later refined with a Latch mechanism to prevent disconnection and Rubber insulation around contacts. Every recording studio, broadcast facility, and live venue on the planet uses XLR as the default microphone connection.
The connector itself is circular, roughly 19mm in diameter, with three pins (male end) or three sockets (female end). Male plugs go on cables; female sockets sit on equipment inputs. The locking tab clicks audibly into place when fully seated. Pull the tab to release. This mechanical lock is more than convenience — during a live broadcast or concert, a loose cable means dead air, and XLR connectors were designed with that stakes-level reliability in mind.
For home podcasters and content creators, XLR represents the step up from USB microphones into professional-grade audio chains. Understanding what XLR offers — and what it demands in return — is the first decision every serious creator faces.
How Balanced Audio Eliminates Noise
The reason XLR cables can run hundreds of feet without picking up hum, buzz, or radio interference comes down to balanced audio transmission. This is the single most important technical concept behind XLR, and it is surprisingly elegant.
Every XLR cable contains three conductors, each connected to one of the three pins:
When the signal reaches the receiving device (your audio interface or mixer), something clever happens. The device flips the cold signal back to normal polarity and adds it to the hot signal. The original audio doubles in strength. But any electromagnetic interference picked up along the cable — from power lines, monitor screens, wireless routers — affected both the hot and cold wires equally. When the cold wire gets flipped, that interference now points in the opposite direction from the interference on the hot wire. They cancel each other out.
The technical term is common-mode rejection. The result is practical: an XLR cable can run 200 feet through a building full of electrical equipment and deliver clean audio on the other end. An unbalanced cable (standard 3.5mm or RCA) starts picking up audible interference after 15-20 feet.
XLR vs USB: What You Actually Give Up and Gain
The choice between XLR and USB microphones is not about which format sounds "better" in a vacuum. Both can produce broadcast-quality audio. The difference is about control versus simplicity — how much of the signal chain you want to manage yourself.
The XLR Path
More control, more gear, more flexibility
- Requires an audio interface ($60-300+ depending on quality and input count)
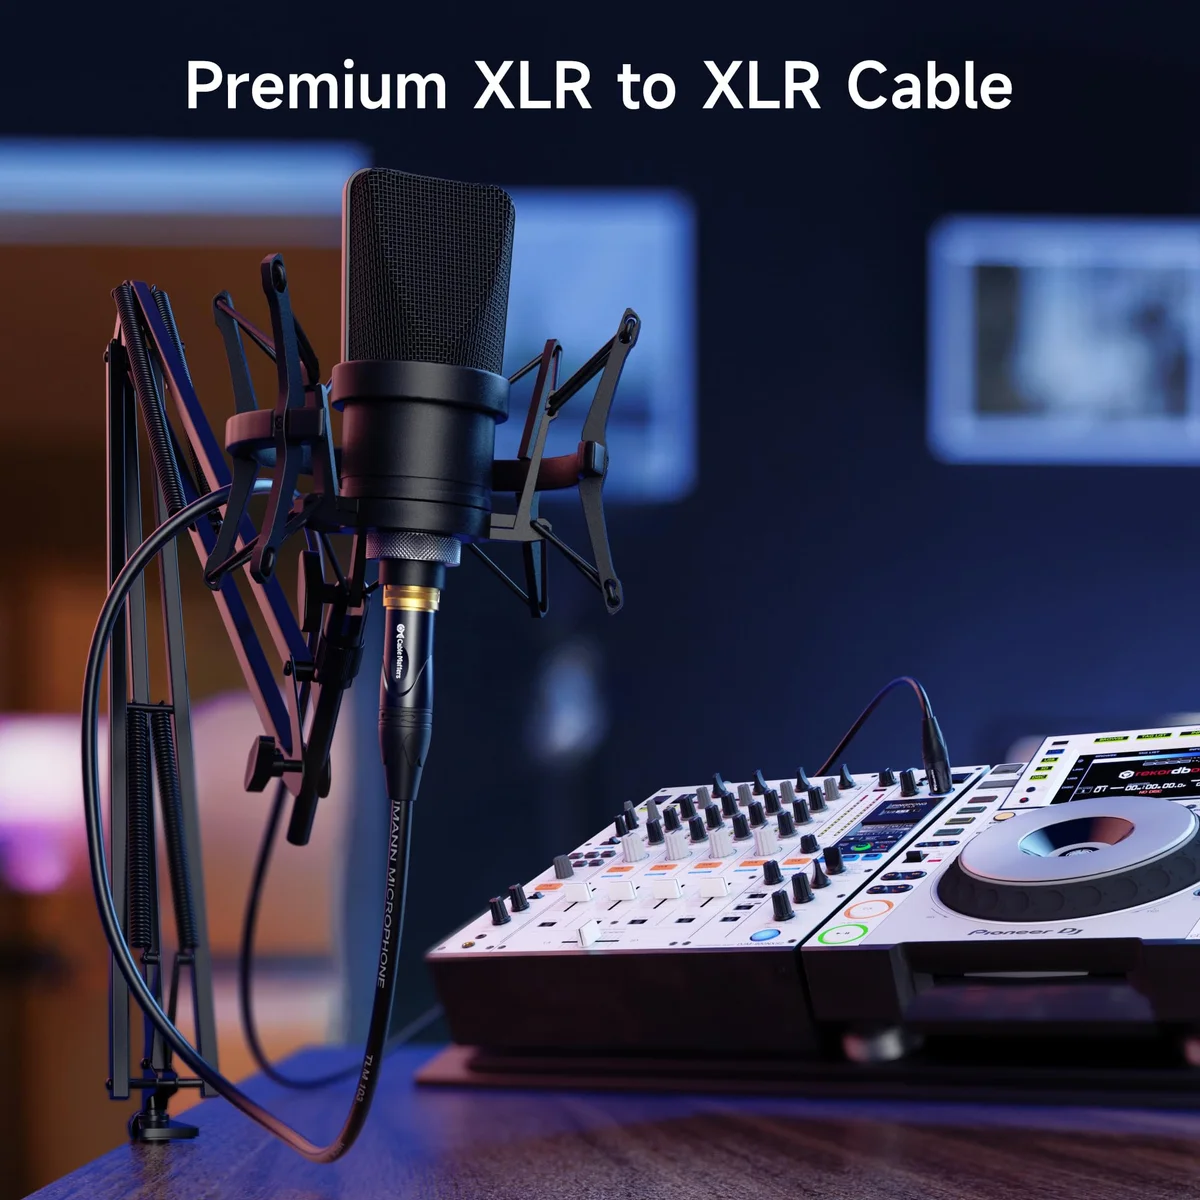
- Requires an XLR cable (the Cable Matters premium two-pack covers most setups)
- Gives you hardware gain control with the interface's preamp character
- Enables multi-mic recording — one interface can handle 2, 4, or 8 simultaneous inputs
- Opens the door to hardware processing — compressors, EQ, and external effects
- Typically delivers a lower noise floor than USB mics at the same price tier
The USB Path
Simpler, cheaper, good enough for most creators
- Requires a USB port and nothing else — true plug-and-play operation
- Built-in analog-to-digital converter handles the entire signal chain internally
- Software processing (when available) replaces hardware EQ and compression
- Lower total investment — no interface purchase required
- Better portability — one cable, one mic, works on any computer
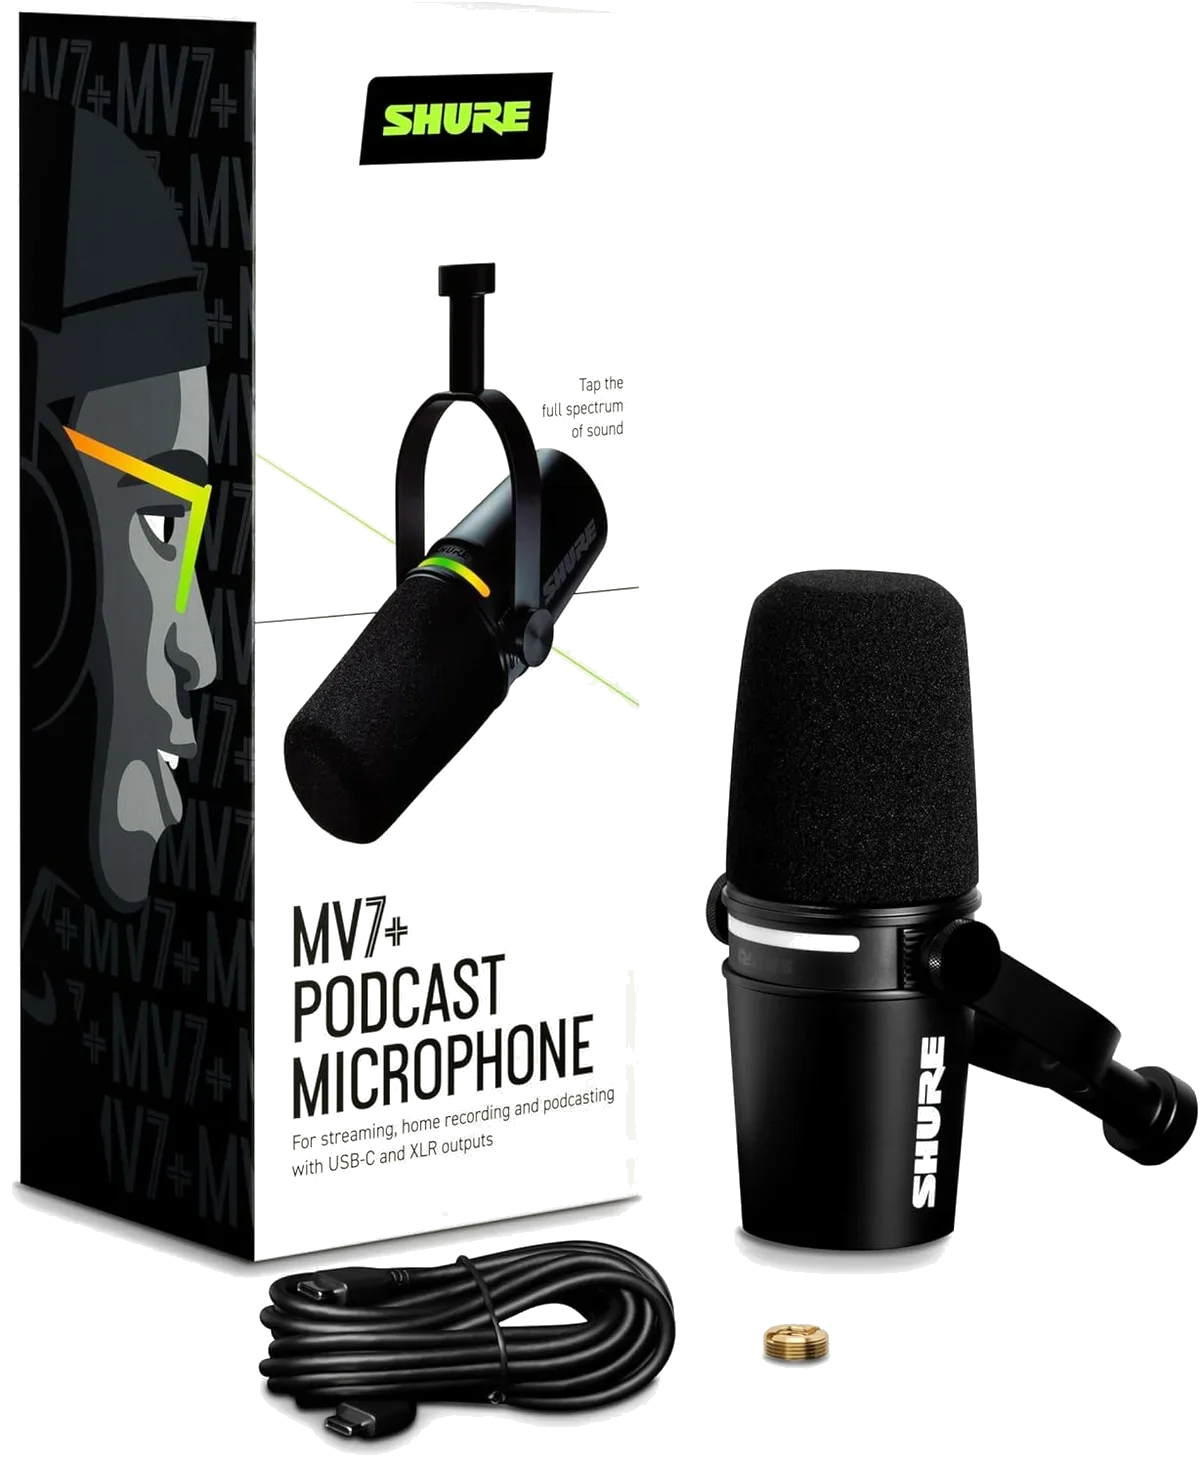
- Modern USB mics like the Elgato Wave:3 with Clipguard and Shure MV7+ with auto-leveling have closed the quality gap considerably
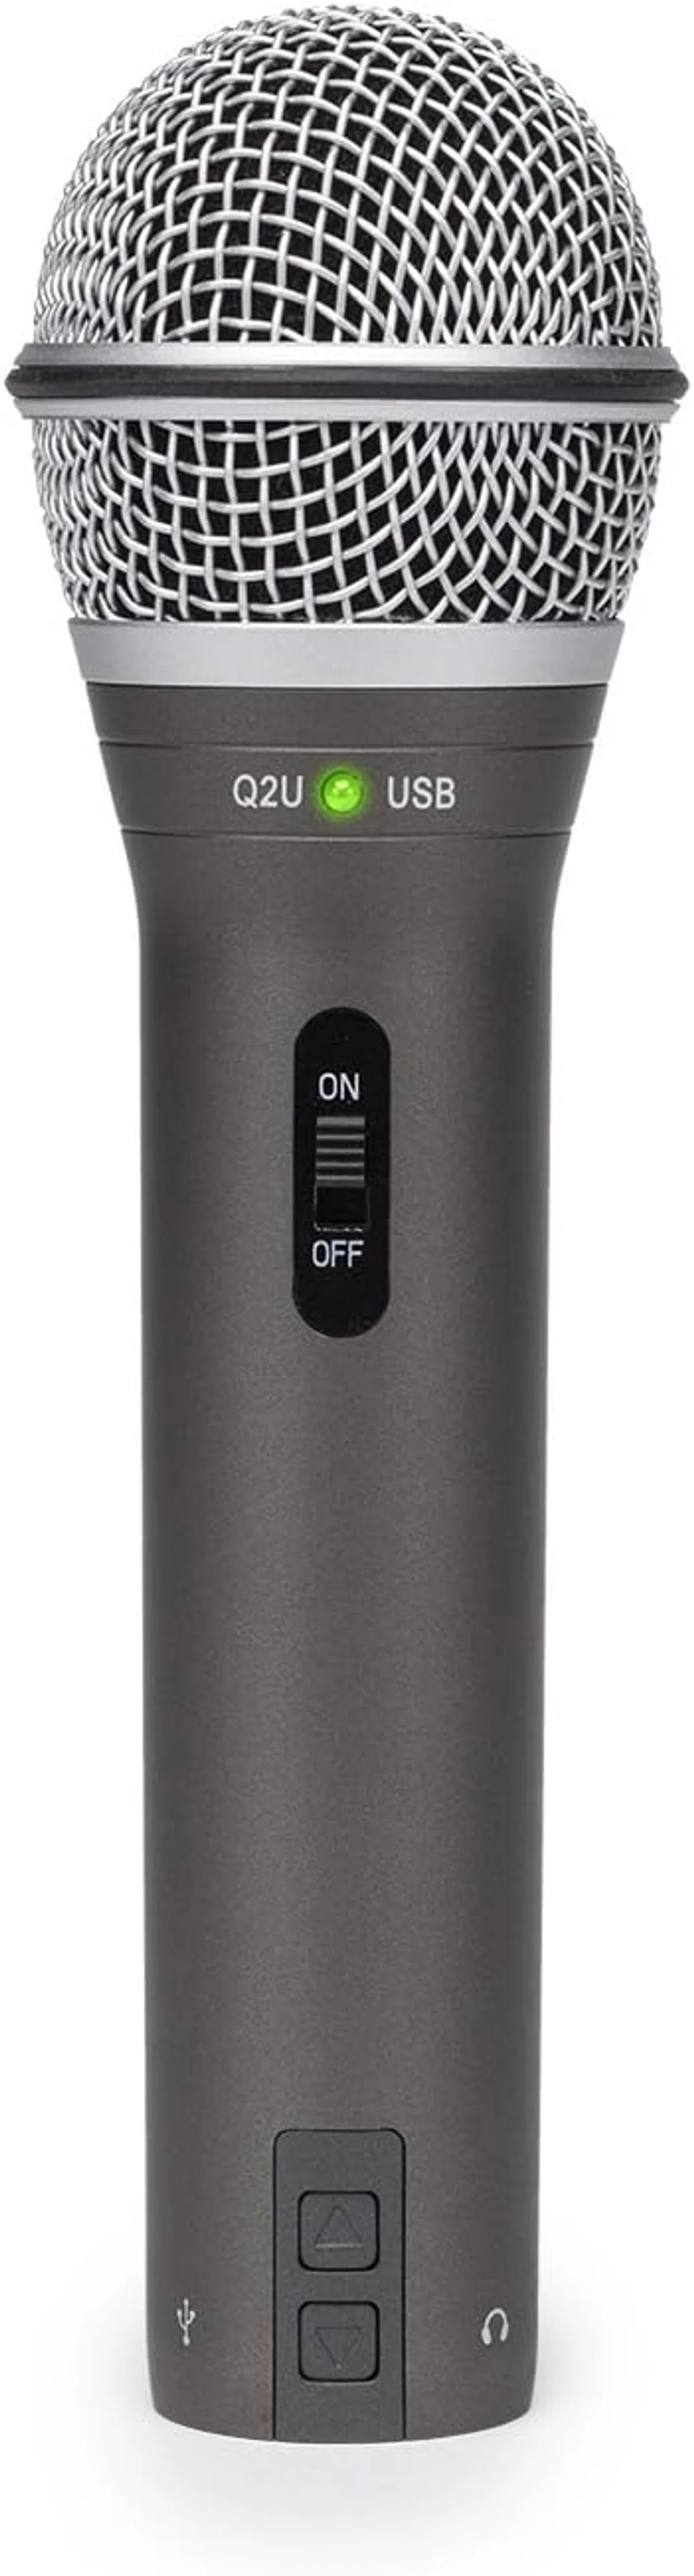
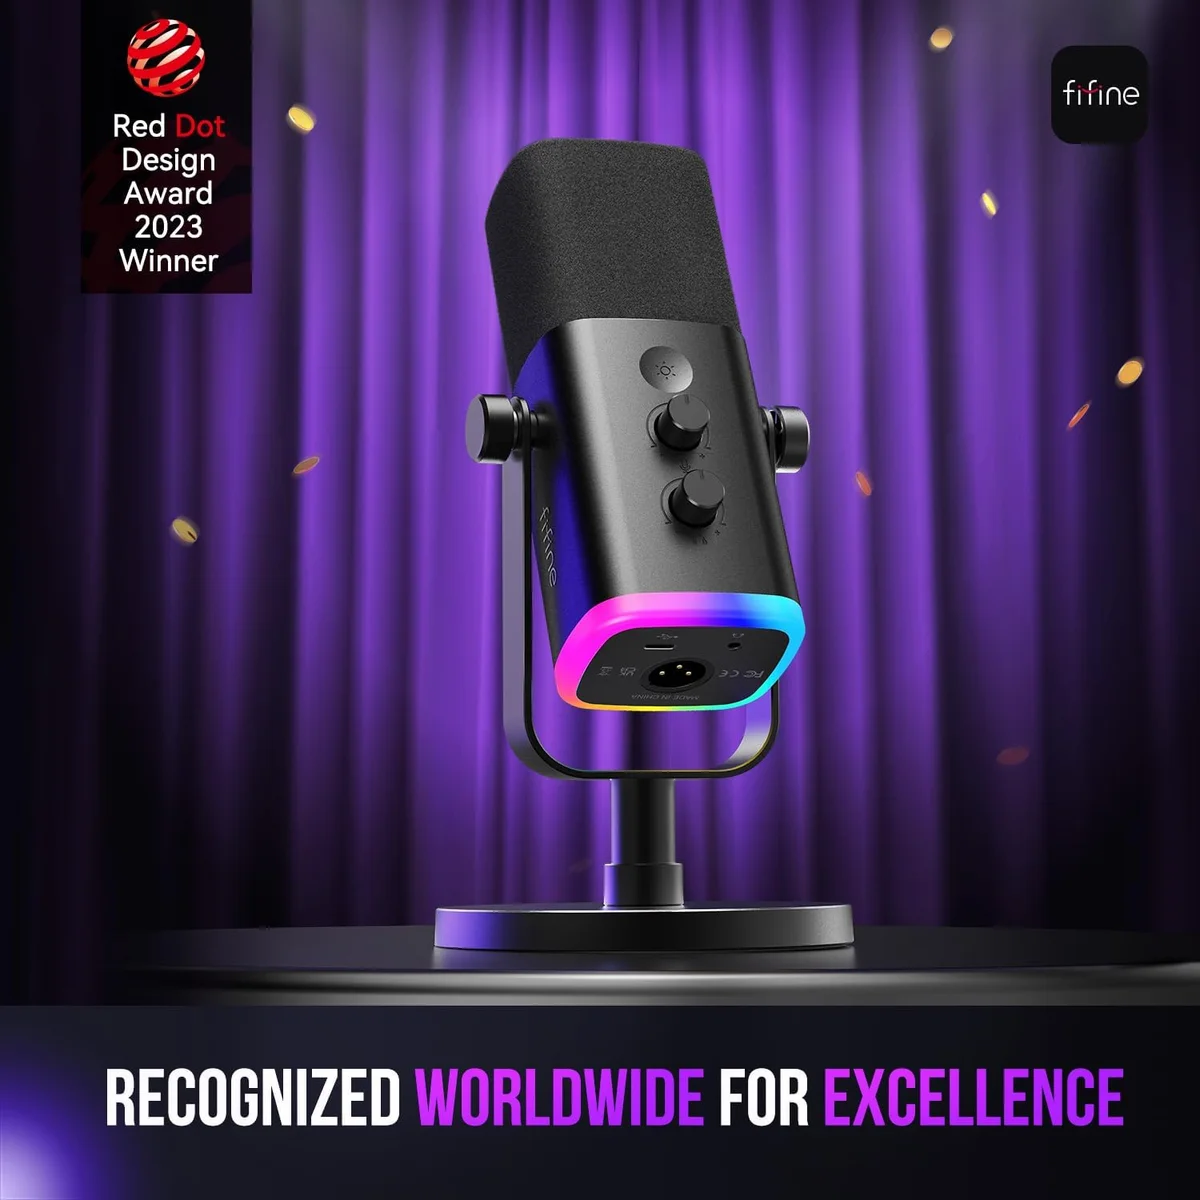
Several microphones bridge this gap with dual USB/XLR outputs. The Samson Q2U recording microphone ($50–$100) is the classic recommendation — start with USB today, switch to XLR when you add an interface. The Shure MV7+ podcast microphone ($250–$500) takes this further with digital signal processing over USB that XLR skips entirely. And the FIFINE AmpliGame dynamic microphone does the same at the entry-level price range.
Phantom Power: Which Mics Need It
Every XLR microphone falls into one of three categories, and the category determines whether you need phantom power — 48 volts of DC current delivered through the XLR cable itself.
Dynamic
Moving-coil design generates its own electrical signal from sound waves. No external power required. The Rode PodMic USB, Samson Q2U dynamic, and Shure MV7+ dynamic all use dynamic capsules. Lower sensitivity naturally rejects room noise — the default recommendation for home creators.
Condenser
Electrically charged diaphragm near a metal backplate — capacitance changes become the audio signal. Requires 48V phantom power from your interface (usually labeled "P48"). Captures far more detail and high-frequency air than dynamics. The downside: that sensitivity also captures room reflections and every ambient sound.
Ribbon
Incredibly thin metal ribbon (2 microns — thinner than a human hair) suspended between magnets. Warm, smooth character beloved for brass and guitar cabinets. Some older models are permanently destroyed by phantom power. Always verify 48V is OFF before connecting any ribbon microphone.
XLR Cable Selection: What Actually Matters
Walk into any music store and you will find XLR cables ranging from five dollars to over a hundred. The expensive cables are not a scam — but the differences that matter for home studios come down to two specs.
Conductor material affects signal integrity over distance. OFC (oxygen-free copper) conductors have fewer impurities that cause signal degradation. At home studio cable lengths (under 15 feet), the difference between OFC and standard copper is subtle. Over longer runs in electrically noisy environments, OFC cables measurably outperform standard copper.
Connector quality determines long-term reliability. Gold-plated connectors resist corrosion from finger oils and humidity — they maintain clean contact surfaces for years without oxidation buildup that degrades signal quality. Nickel-plated connectors are functional and cheaper, but the plating wears faster in environments where cables are plugged and unplugged frequently. For a cable that stays connected to the same mic and interface permanently, nickel is fine. For a cable that travels between studios or gets swapped between mics regularly, gold-plated connectors are the more durable investment. The price difference is typically under five dollars per cable — a minor cost for a component that carries your entire audio signal.
When XLR Is the Right Choice
After analyzing thousands of user reviews across our entire catalog, the pattern is clear: XLR makes sense under specific conditions, and USB wins everywhere else.
The Blue Yeti USB condenser microphone, Elgato Wave:3 streaming microphone, and HyperX QuadCast S gaming microphone all prove that USB-only designs produce professional audio for streaming, podcasting, and content creation. XLR is not inherently superior — it is a different tool for different needs.
The best approach for creators who are unsure: start with a USB/XLR hybrid mic. The Samson Q2U dual-connectivity microphone and FIFINE AmpliGame hybrid microphone both let you begin with USB simplicity today and transition to XLR when your setup grows — without replacing the microphone itself. That flexibility means your first mic purchase does not lock you into either ecosystem permanently.
The XLR Transition: What It Actually Costs
Moving from USB to XLR is not just a cable swap. The full cost of an XLR setup includes three components beyond the microphone itself, and understanding those costs upfront prevents sticker shock later.
The audio interface is the biggest expense. Budget interfaces like the Focusrite Scarlett Solo ($110-130) and PreSonus AudioBox ($100) provide a single XLR input with phantom power, headphone monitoring, and a USB connection to your computer. For two-mic setups (interviews, co-hosted podcasts), step up to a 2-input model like the Scarlett 2i2 ($170). The interface replaces the USB mic's built-in DAC with higher-quality analog-to-digital conversion — the primary source of XLR's audio quality advantage over USB.
The XLR cable connects mic to interface. A Cable Matters braided XLR cable costs under $15 for a 2-pack and performs identically to cables costing five times more at home studio distances. Cable length matters: buy the shortest run that reaches from your mic position to your interface. Excess cable picks up more electromagnetic interference and creates desk clutter. For most desk setups, 6 feet is sufficient. Our Cable Matters vs AmazonBasics comparison covers the budget cable decision.
Software and drivers are often free. Most interfaces work as class-compliant USB audio devices on modern operating systems — no driver installation needed. Focusrite includes Focusrite Control for routing and monitoring. PreSonus bundles Studio One Artist, a full DAW. These software packages add value that USB mics cannot match: multi-track recording, real-time EQ, hardware-level monitoring with zero latency.
Total cost of a complete XLR upgrade from a hybrid mic: $125-200 for the interface and cable. That is the price of admission to professional-grade audio. The microphone you already own (if it has XLR output) transitions without additional cost. Every dollar spent on the interface improves every mic you connect to it — now and for every future microphone purchase.
One practical note: XLR setups lose portability. USB mics work on any laptop anywhere. XLR requires the interface, the cable, and a power source for the interface (usually USB bus power from your computer). For creators who record in multiple locations — coffee shops, hotel rooms, outdoor spaces — USB remains the practical choice. XLR is a studio commitment.
Frequently Asked Questions
Can you plug an XLR mic directly into a computer?
No. Computers lack XLR inputs. You need an audio interface that converts the analog signal to digital. Some mics like the Shure MV7+ and the Q2U from Samson offer both connection types, letting you bypass the interface entirely when convenience matters more than maximum audio control.
Does XLR sound better than USB for podcasting?
XLR through a quality audio interface typically produces a lower noise floor and more headroom than USB. But the difference is often marginal for spoken word. USB mics like the Elgato Wave:3 produce broadcast-ready audio for solo podcasters. XLR becomes the clear winner when running multiple mics, adding hardware processing, or recording in electrically noisy environments.
What is the difference between XLR and TRS connectors?
Both carry balanced audio, but XLR uses a 3-pin locking circular connector designed for microphones, while TRS uses a 1/4-inch plug common on instruments and headphones. XLR connectors physically lock in place, preventing accidental disconnection during performance. TRS and XLR cables are interchangeable with simple adapters since they carry the same balanced signal.
Do all XLR microphones need phantom power?
No — only condenser microphones require 48V phantom power delivered through the XLR cable. Dynamic microphones like the Rode PodMic USB and Samson Q2U generate their own signal and work without phantom power. Most audio interfaces include a phantom power toggle. Sending 48V to a dynamic mic will not damage it — the mic simply ignores the voltage.
How long can an XLR cable run before audio quality drops?
XLR balanced transmission handles cable runs up to 200 feet (60 meters) without audible quality loss. Home studios rarely need more than 10-15 feet. The Cable Matters premium XLR cable at 6 feet covers most desk setups. For runs over 50 feet, use cables with heavier gauge conductors and braided shielding for maximum noise rejection.
What does balanced audio actually mean?
Balanced audio uses three conductors: hot (normal signal), cold (inverted copy of the signal), and ground. Any electromagnetic interference picked up along the cable affects both hot and cold wires equally. The receiving device flips the cold signal and combines it with the hot — the noise cancels out while the audio signal doubles in strength. This is why XLR cables resist hum and buzz over long runs.
Our Top Recommendation
Based on our research, the Shure MV7+ is our top pick — serious podcasters and streamers who want a single mic that works with both usb-c and xlr, especially in untreated rooms..
Get Mic Picks Delivered
One email per week. Honest reviews, zero spam.
Only when something changes. Unsubscribe anytime.